Expensify is a tool that many small business owners use to manage their expenses and receipts. One way to make it more valuable is to set it up to pull the credit card transactions directly from your credit card into your Expensify account.
 The setup process is simple. Also, by adding this function, each employee’s credit card can be tied directly to their login for Expensify. Employees will have their credit card charges loaded onto their dashboard, so they can easily add receipts and code each transaction. That means no more following up with employees for missing information!
Once you’ve decided you want to setup this feature on your account, the below steps can be taken to finalize the process:
- Your bank/credit card provider will require a credit card enrollment form with Expensify’s information – this can be requested from your Expensify support contact.
- Contact your bank/credit card provider and request that your VCF feed be sent directly to Expensify via SFTP. Your bank/credit card provider should fill out their information at the top of the enrollment form and submit it to their Commercial Client Services contact at Visa (or other credit card). Let your Expensify support contact and your bank/credit card provider know the date from which you would like the transactions imported. For example, if you would like transactions to come into Expensify from July 1 onward, the bank will need to know that date.
- If you have not already upgraded to the Corporate plan and setup Domain Control in your Expensify account, do this now. You will need to complete both steps before you can assign your commercial cards to individual users.
- Your bank/credit card provider will then send Expensify a test file.
- Your bank/credit card provider will put the feed into production and your Expensify support contact will confirm that it is live.
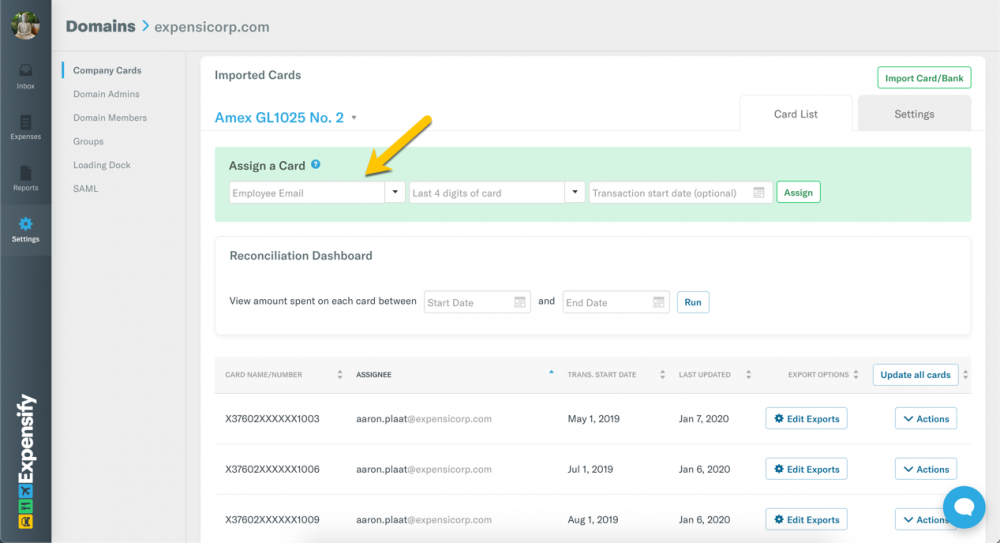
- Once your Expensify support contact has confirmed the feed is live, you will be able to go to Admin > Domain Control > [select domain] > Company Cards to add user cards by assigning the last four digits of the card (in the dropdown menu) to the user’s email address. In some cases, you may need to click on Update before the import will begin.
While there are sometimes difficulties in the setup with certain banks or debit cards, if you can get this to work, your employees are set to complete their expense reports more efficiently and get you the data you need faster.
Written by: Amelia Reynolds, Controller
Posted in General